US
US CA
CA LE
LE


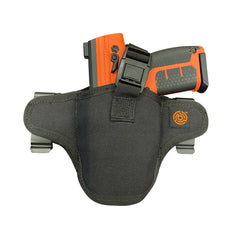
How to Install the Byrna Pro Site on Your Launcher
This video provides a step-by-step guide for installing the Byrna Pro Site—a red dot sight designed specifically for Byrna launchers.
Inside the box, you'll find everything needed for installation: a user manual, a safety card, the red dot sight, two Allen keys (one for mounting and one for adjustments), extra screws, a lens cleaning cloth, and an elevation shim.
The installation process begins by removing the battery tab to activate the red dot. A Torx T10 wrench is used to unscrew the battery plate. One critical component is the insulation shim, which must be installed to prevent contact between the launcher and the base of the red dot sight.
Next, remove the rear optic plate from the launcher using either a 5/64" Allen wrench or a 3mm tool. The Pro Site is then aligned over the shim and secured into place. Screws should be tightened enough to hold the sight firmly, but not over-tightened.
Once mounted, the red dot can be zeroed using the included 0.5mm Allen key. Windage adjustments are made on the side of the sight (clockwise moves the dot right, counterclockwise moves it left), while elevation is adjusted from the top (clockwise moves the dot up, counterclockwise moves it down). If additional elevation adjustment is needed, the included shim can be used to angle the sight and avoid maxing out its built-in adjustment range.
This guide makes installing the Byrna Pro Site straightforward and ensures optimal performance for precision targeting.