Welcome to the Getting Started with Byrna series. In this video we are going to be covering the basics of your new Byrna SD or LE.
The first thing we're going to do after unboxing your launcher is clear it. While its highly unlikely that there are still projectiles or CO2 in your launcher after testing at the factory, the first thing you should do with any weapon when handling it, is make sure it's clear.
We are going to start by removing any magazine that may be in the launcher by pressing the magazine release button here on the side of the grip. Once we have removed the magazine we’re going to make sure the chamber is clear by both visually looking into the magazine well and pressing the chamber indicator and extractor button. If there was a projectile in the chamber the chamber indicator would be protruding above the slide and depressing it would eject the round through the magazine well.
Now we’re going to check the CO2 housing by removing the CO2 housing end cap. Every byrna magazine has a hex key on the back of the base plate that fits the end cap to help with removal and installation. Simply unscrew the endcap and assure there is no CO2 cartridge in the housing.
So now that we know how to clear our launcher. It's time to load our launcher so that it is ready for use. Since we already have our CO2 housing end cap off, lets go ahead and insert a fresh, unpierced CO2 cartridge into the housing, neck first. We are then going to replace our endcap and screw it in place, first with our fingers and then using our base plate hex key. The thing to remember here is that you don’t need to crank down on the cap. Once you start to feel some resistance, just give it another quarter turn and that should be plenty. At this point out CO2 cartridge is ready to go.
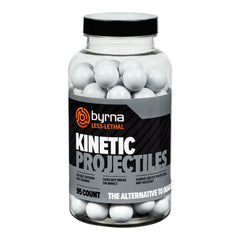
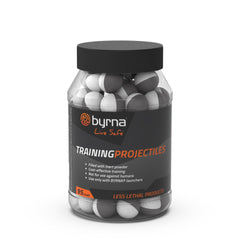
Next, we need to load our projectiles into our magazine. No matter what type of Byrna projectile you’re using they all load the same way. Push the projectile straight down past the ejector bar until it locks into place. Repeat with the number or rounds your magazine was designed for, either 5 or 7.
Now that your magazine is loaded, simply insert the magazine into the magazine well until you hear it click into place. There is no need to slam it into the well, just tug on the baseplate to make sure its seated.
At this point, your launcher is ready to use. Because your CO2 cartridge is in the housing unpierced, it can remain in this state indefinitely. But you can also start training from this state as well. Simply flip the safely lever to fire, aim at your target and pull the trigger. Just remember to replace your pierced CO2 cartridge after you’re done training, no matter how many rounds you have fired.
Hopefully this guide has helped you get started on your journey to make sure that if the time comes, YOU are prepared to defend.


